Showing posts with label Sally Hansen. Show all posts

Friday, September 25, 2015

Polka Dotted

Hi guys!

I've been itching to do a dotticure lately but sometimes they can be so frustrating! I mean they're super easy to create but trying to get the dots all the same size can make you go cross eyed! And of course I'm SUPER ocd so I spend so much time trying to get them all the same time it's nuts! So i decided to try out these polka dot stencils from Stick It! Nail Vinyls and man, they were so much easier! Check it out!

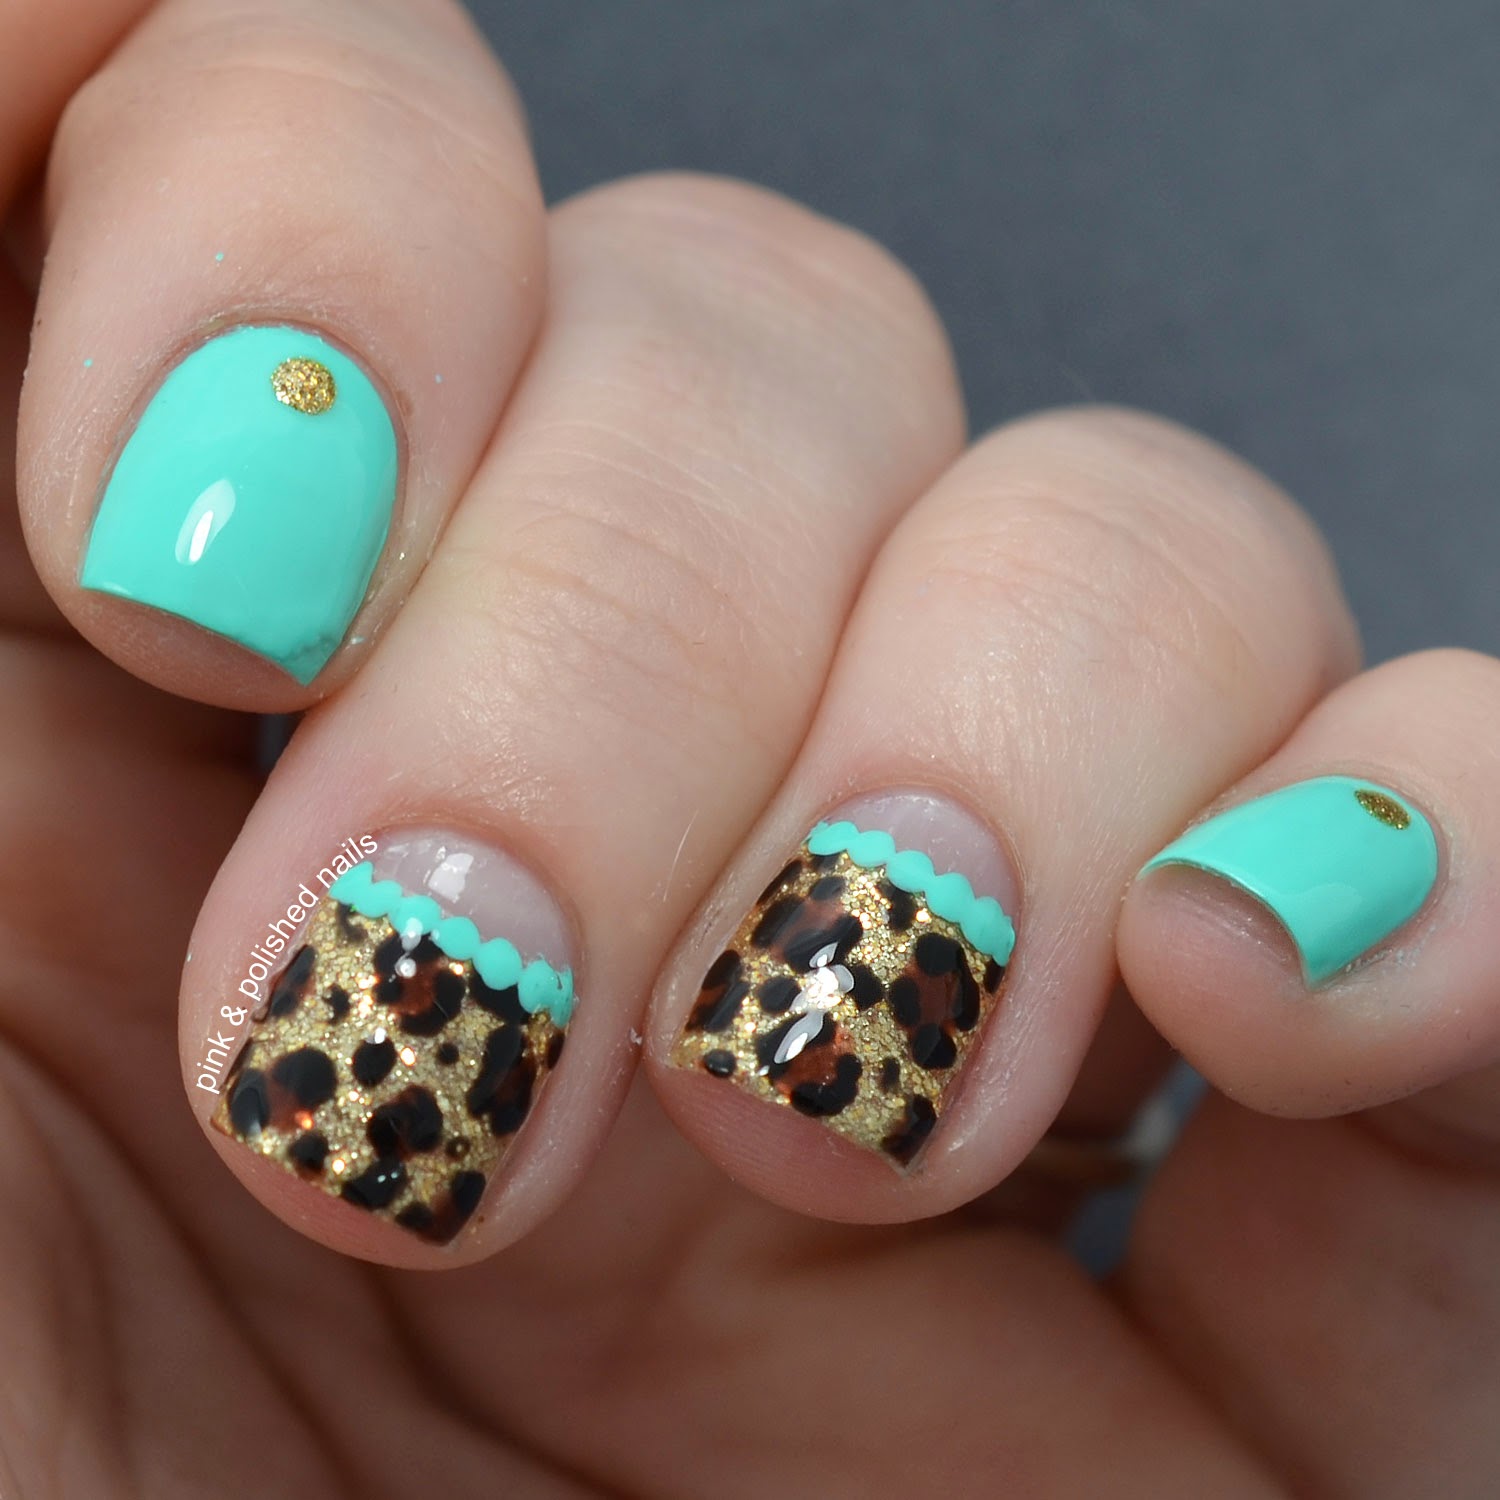
I started with a base of Bear Pawlish Never Ending Story. When it was dry I placed the Polka Dot Stencils from Stick It! Nail Vinyls and sponged Sally Hansen Snappy Sorbet over top. I peeled the vinyls off while the polish was still wet and finished it off with some Seche Vite.


I'm LOVING the look of these uniform dots, my inner ocd is very pleased :) Not to mention Bear Pawlish Never Ending Story is completely GORGEOUS!

Love it!

What do you guys think?

Thanks loves :) 

Thursday, July 23, 2015

Gradiented Hearts

Hearts, hearts everywhere!

I'm loving these Multi Heart Stencils from Stick It! Nail Vinyls, they are incredibly easy to use and my favorite part? The insides of the stencils don't lift up when you remove the stencil from the paper. I can't tell you how frustrating it is, though a lot of you probably know, when you are trying to use a nail vinyl and you have to pick out the insides. So aggravating! That's why I like these vinyls so much, aside form having a great variety, the vinyls are nice and stick and the insides stay where they are supposed to ;) 

For this fun heart look I started with a base of Sally Hansen Insta Dri Tag, Ur It! and applied a layer of Seche Vite over each nail to protect the polish from the vinyls. I applied the multi heart stencils to my nails, protected my skin with a layer of liquid latex and created the gradient using Lime Crime Parfait Day and Glam Polish Without Love and a cosmetic sponge. I removed the vinyls and liquid latex and sealed it all in with one final layer of Seche Vite.


I absolutely LOVE how fun this look is! And it's so easy to create and use whatever color combination you want. I especially love the purple glitters in Glam Polish Without Love, such a perfect finishing touch ;) 

What do you guys think?

Have you tried Stick It! Nail Vinyls? What did you think?

Thanks loves :) 

Saturday, July 18, 2015

Sail Away With Me

Hi guys!

I haven't done nautical nails on this blog in a really long time, but that's about to change right now with the help of Stick It! Nail Vinyls Straight Vinyls and Sail Boat Vinyls

Let's get this look started!

I started with a base of Zoya Song on all of my nails and sped up the drying process with a layer of Seche Vite. I used Stick It! Nail Vinyls straight vinyls to create the stripes on my index, middle, and pinky nails and painted over them with Sally Hansen Insta Dri Tag, Ur It!. I removed the vinyls and added two dots on the edge of my nails with a dotting tool and LOOK! Nail Color Rockets Red Glare. On my ring nail I placed a straight vinyl vertically on my nail and painted half of my nail with Sally Hansen Insta Dri Tag, Ur It!. I removed the vinyl and added a sail boat vinyl, also from Stick It! Nail Vinyls and painted over it with LOOK! Nail Color Rockets Red Glare. I removed the vinyl and sealed all of my nails in with some Seche Vite and that was it!


I am absolutely in love with these! They were so easy to creat with the help of Stick It! Nail Vinyls (purchase HERE). Nautical nails can be so fun and you can use almost any color combination you can think of! I'm glad I decided to go with the classic color scheme, but I can definitely see myself switching things up in the future!

What do you guys think?

Thanks loves :) 


Wednesday, April 1, 2015

Minty Gold Leopard Nails

Mmmm there's nothing like a good mint polish to really get you excited about doing some nail art. LOL but really mint is such a flattering polish color and I've just been obsessed with it lately so of course I had to incorporate it in some animal print nails!

I started with a base of China Glaze Too Yacht To Handle on my index and pinky nails. On my middle and ring I used Sally Hansen Real Nail Polish Strips in the gold french tip design and placed them high to create a half moon. Then I sealed them in with the clear strips that came with the package to make sure they adhere to my nails nicely. Next I created the leopard print using TLLB Spiked Hot Chocolate and Wet n Wild Black Creme. I added a dotted outline to the half moons using China Glaze Too Yacht To Handle and added a dot of China Glaze Mingle With Kringle on my index and pinky nails. Finally I sealed everything in with a layer of Seche Vite and that was it.


I really feel like the mint compliments this gold so well. It adds the perfect amount of brightness and gives it such a sweet finish. 

What do you guys think?

Thanks loves :) 

Saturday, March 28, 2015

Lots of Large Dots

Hi guys! 

I'm really loving dotticures lately. They're so easy to create and you can do almost anything with them! I've chosen to super size them this time though! Keep reading to see what I came up with.

I started off with a base of Sally Hansen Hard As Nails Heart of Stone. When it dried I used a large dotting tool and Sinful Color Snow Me White, China Glaze Pool Party, Essie Boom Boom Room and OPI Malaga Wine to create the large dots. I sealed everything in with some Seche Vite and added a final layer of NYC Matte Me Crazy for a flat finish.


I so love these! I love how he kind of look like bubble gum balls! I really want to experiment with dots some more so if you guys have any suggestions please let me know in the comments! 

I hope you're all having a lovely week! Keep an eye out on my Instagram and YouTube later today for tutorials on this look!

Thanks loves :) 

Tuesday, February 17, 2015

Twinsie Tuesday: Match Your Nails to Your Purse

UGH.

I'm late for Twinsie Tuesday.... again -_- I was so hoping that I would be on time today but things got in the way of me making this post up yesterday and I had to work today so I'm writing it up now at 530pm.... sigh. I'm sorry guys but hey, at least I got it up in the same day! LOL 

The theme for today's post is match your nails to your purse. I got super excited about this post because I love my purse and then super sad because I realize that I don't have a polish that matches my purse. Boooooooooo! But I matched it up at close as I could so I hope you guys like it!

I started off with a base of Sally Hansen Presto Pink. When it was dry I took a small nail art brush and OPI This Gown Needs A Crown and painted on my small curved 'C' shapes. I sealed it all in with some Seche Vite and that was it!


I didn't think that I would like these nails because I wasn't a huge fan of this pink polish but I was actually surprised to find that I really enjoyed wearing these. I love the way the silver curves and snakes it's way through the pink, it's very visually aesthetic to me. But I'm probably base ;) Let me know what you guys think in the comments!

And don't forget to check out everyone else's purse matching nails, I know I can't wait to see what everyone has done!


Alaina at The Little Canvas
Amanda at Amandalandish
Amanda at Fashion Footing 
Amber at Nails Like Lace 
Bridget at A Painted Nail 
Chelsea at Nailed Blog 
ChiChi at I'm Just Me...ChiChi 
Jessica at Blue Velvet Lacquer 
Kristine at Pink and Polished Nails 
Lakeisha at Refined and Polished 
​Lisa at The Polish Playground 
Marisa at Polish Obsession 
Róisín at Cuti-CLUE-les 
Savannah at Addicted to Polish 


Thanks loves :)

Sunday, February 1, 2015

Midnight Tips

There's something about winter that always makes me reach for a blue polish. Maybe because I associate blue with cold, or maybe because I just like the color blue. Whatever it is I love creating manicures with some blue in them like this pretty duo below! Wanna take a look?

I started out with a super secret polish from The Little LacquerBean, details to emerge soon! ;)  When it was dry I used some hole reinforcement stickers and placed them near the free edge of my nails. Then I used Sally Hansen Silver Sweep and painted over the exposed part. I peeled off the stickers, cleaned up, and top coated with some Seche Vite


I love the simplicity to this manicure, it makes it feel so clean. And this blue is just yummy! I usually find myself reaching for lighter blues but every once in a while a deep mysterious blue is just what I need!

What do you think?

Thanks loves :) 

Tuesday, January 27, 2015

Twinsie Tuesday: Recreate A Celebrity Manicure

Hi guys!

My Twinsie Tuesday post is a little late today I'm sorry! I'm in Massachusetts and as most of you know we're getting slammed with a blizzard right now and it's been keeping me pretty busy shoveling and all that good stuff. But, I've got some down time now so I have my post up finally!

The theme for this Twinsie Tuesday is Recreate A Celebrity Manicure. One of my absolute favorite celebrities for nail art is Katy Perry. She always has something crazy on her nails and I fell in love with THIS disco ball design. It seemed pretty easy, but it was a little time consuming ;) Ready to check out my version?!

I started off with a base of Sally Hansen Silver Sweep. When it was dry I used my small silver rhinestones and Essie Good To Go and applied each one. I didn't top coat after because I quite liked the rough look! 


So.... things not to do: DON'T use a fast drying top coat to apply the rhinestones, it takes a lot longer.... -_- LOL Oh well I really actually love the way that these came out! I'm a notorious picker though so I knew they wouldn't last long on my nails. But they sure were fun while they lasted ;) 

What do you think guys? Are you braving the blizzard too?! Show me some pics of the snow! And don't forget to check out everyone else's Twinsie Tuesday posts! I can't wait to see them!

Thanks loves :) 


Savannah at Addicted to Polish
Róisín at Cuti-CLUE-les
Marisa at Polish Obsession
Lakeisha at Refined and Polished
Jessica at Blue Velvet Lacquer
Chelsea at Nailed Blog
Bridget at A Painted Nail
Amber at Nails Like Lace
Amanda at Fashion Footing
Amanda at Amandalandish
Alaina at The Little Canvas

Saturday, January 17, 2015

Pink & Patterned

I'm still obsessing over Seche Audacious...

I mean come ON did you even see what a gorgeous bright fuchsia it is?!? Seriously it could be one of my all time favorite polishes and it's not even holographic so that means a lot!

Anyways I knew as soon as I put it on my nails that I wanted to pair it with a sliver polish because pink and silver is just, my life. Pathetic? Maybe but YOLO! ;) (sorry I swore I would never use that word on here.... OOPS) Okay it's time for why you guys are really here, nails!!!

I started off with a base of Seche Audacious. When it dried I stamped over each nail using Bundle Monster plate BM-319 and Sally Hansen Silver Sweep. I cleaned up the excess, top coated with Seche Vite and that was it. Simple and easy!


I am loving this manicure so much! It's so simple, it took me literally a half hour to complete, but the final product is just wonderful. The silver really pops against the bright fuchsia for a super fun effect. 

What do you think?

Thanks loves :) 

Monday, January 12, 2015

Swirly twirly with Zoya Liberty

MOAR untrieds!

Ready for another Zoya PixieDust? Today it's Liberty's turn to shine! Zoya Liberty is just a stunning medium blue. It has a sparkle that is so gorgeous I don't even know how to describe it! This one was in my untrieds for so long because I have heard that it can be a stainer. I doubled up on my base coat before I applied Liberty and had no staining. Just be careful around your cuticles ;) Ready to see what I came up with?

I started off with a base of Zoya Liberty (2 coats). When it was dry I stamped randomly over each nail using Bundle Monster plate BM-426 and Sally Hansen Silver Sweep. I'm not sure what exactly this image is supposed to be but I sure do love it ;) I cleaned everything up and didn't apply top coat because it would ruin the textured effect but after I took my first photos I did end up top coating with Essie Good To Go so you guys can see the shiny smooth yumminess.


This polish. I actually don't even know what to say except I love it SO MUCH. I'm a sucker for blues, when I was younger blue was my favorite color, and this one is just the blue of my dreams. And when it's top coated the sparkly really comes alive. Definitely drool worthy.

What do you guys think? What's your favorite blue polish?

Thanks loves :) 

Saturday, January 10, 2015

It's the motherboard!

Ever have a design that just didn't turn out the way you wanted it to but you still end up liking it?  

I really wanted to use the fun computer / motherboard design that's on Bundle Monster plate BM-415 but my green polish just doesn't stamp well at ALL. Because it doesn't the design ended up coming out way more subtle then I wanted so I added some number stamps on top and I actually think it brought the design together really well. Let's see what you guys think ;)

I started with a base of Sally Hansen Silver Sweep. Then I stamped using Bundle Monster plate BM-415 and China Glaze Con-Fused?. After that I stamped over all of my nails again with the same plate BM-415 and Color Club Beyond. I cleaned everything up and sealed it all in with Essie Good To Go and that was it. 


I didn't expect to love this design as much as I did. Yes it's subtle but sometimes subtle can be a good thing. I felt so robot like.... is that really weird? Yeah probably but who cares I'm a damn robot!!! ;) ;) 

What do you think guys? Make sure you let me know in the comments!!

Thanks loves, talk to you soon! :) 

Tuesday, January 6, 2015

Golden Chevrons with Zoya Feifei

As I sat down to paint my nails the other day I really wanted to use some colors that I haven't tried before. I always seem to reach for the same colors so my untried list is rather large and when I opened up my drawers I realized that my Zoyas get almost no love. What?! Why don't we change that, like NOW.

The first shade that I grabbed was Zoya Feifei. What a wonderful and unique polish. It's an icy blue foil with so many different gold / copper based micro glitters which gives this polish an almost duo chrome effect. So lovely. I knew I wanted to pair this up with some gold art so I hope you guys like what I came up with!

I started of with a base of Zoya Feifei (3 coats for full coverage). When it was dry I used Bundle Monster plate BM-423 and Maybelline Color Show Bold Gold and stamped over each nail. For a little extra fun I used plate BM-317 and Sally Hansen Silver Sweep and stamped the little bow image on my ring finger. I sealed it all in with Essie Good To Go and that was it. 


I love how well the gold stamping compliments this polish. It's a little difficult to see in the photos but the copper / gold micro glitters were really prominent in real life. And I just think that little bow is too damn cute ;) 

What do you think guys? What is your most untried brand?

Thanks loves :) 

Wednesday, December 31, 2014

NYE Grungy Glam

Hi guys!

Sorry I haven't been posting, life's been a little crazy. But thankfully it seems to be settling, just in time for the new year! Can you believe it's almost 2015? When I was younger people would always tell me, just wait until you get older the years will just fly by. I never used to believe them but it's so true! These past few years have literally FLOWN by! But I've also learned to get excited about change, because it's going to happen wether or not you want it to ;) So I don't know about you guys but I'm so ready to bring in the new year! New opportunities, new everything. And new nails! 

Let's get on with it then shall we?!

I started off with a base of Color Club Beyond. Then I took a fan brush and dipped it in Maybelline Color Show Bold Gold and then Sally Hansen Silver Sweep and brushed it over my nails. I kept going back with all three colors until I got to a look that I liked. When that was dry I took Maybelline Color Show Navy Narcissist and stamped with Bundle Monster plate BM-H14. I sealed everything in with Essie Good To Go and that was it. 


I really loved these nails, I love the color that the three shades (CC Beyond, MCS Bold Gold, and SH Silver Sweep) created by using the dry brush technique. Kind of a grungy glam ;) ;)  And I think that the blue just gave it a really nice pop of color. 

What do you guys think?

Are you ready for 2015?

Thanks loves :)


Wednesday, December 24, 2014

Christmas Eve Dots

It's Christmas Eve! 

I really just love Christmastime, the excitement, the mystery, the friends and family. Sure it's stressful but when it comes down to it, it's always a holiday to remember. It's a little bit crazy here so I'm going to keep this post short and sweet ;) 

I started off with a base of OPI Bubble Bath. Then I took a few different dotting tools and created the dots with China Glaze Just Be-Claws, China Glaze Con-Fused?, Maybelline Color Show Bold Gold, and Sally Hansen Silver Sweep. I sealed it in with Essie Good To Go and that's it. 


Ahh, nothing better then a simple dotticure. I love designs like this because you can create them in so little time so they're great when your rushing around for the holidays and still want to make sure your nails are looking fabulous. 

What are you wearing on your nails for Christmas Eve?

Thanks loves :)